MapleEngineer
25 years in the federal government in guns and badges, 22 of those in Corrections, then 10 years in hacker hunting and breach detection, now an information security sales engineer. Homestead farmer, amateur welder, equipment operator, electronic designer, 40 years soldering, husband and father.
- 30 Posts
- 20 Comments
Joined 1 year ago
Cake day: June 14th, 2023
You are not logged in. If you use a Fediverse account that is able to follow users, you can follow this user.
Tweezers are the bomb. I’ve been doing a lot of repairs to old gaming consoles and hand helds. That actually paid for the new soldering station. Removing the surface mount caps without tweezers is possible but not easy.

I know OpenPnP. We have talked about it but most of the work I do is very small run. I hand solder everything down to 0402s and TQFPs with 0.4 mm pitch in one to three or four units. I’ve considered buying a hand PnP unit and I may at some point. I just upgraded to a new Hakko dual head soldering station which makes hand soldering stupid easy. I’ve probably got a few years of hand soldering in me.
Most of what I do is repairs and rework with a fair amount of prototyping.
For any production runs the guys I work with have PCBWAY do the populating for them.
Thanks. It’s loosely based on a number of designs that I’ve seen online. I wanted to make improvements to meet my needs.

 1·10 months ago
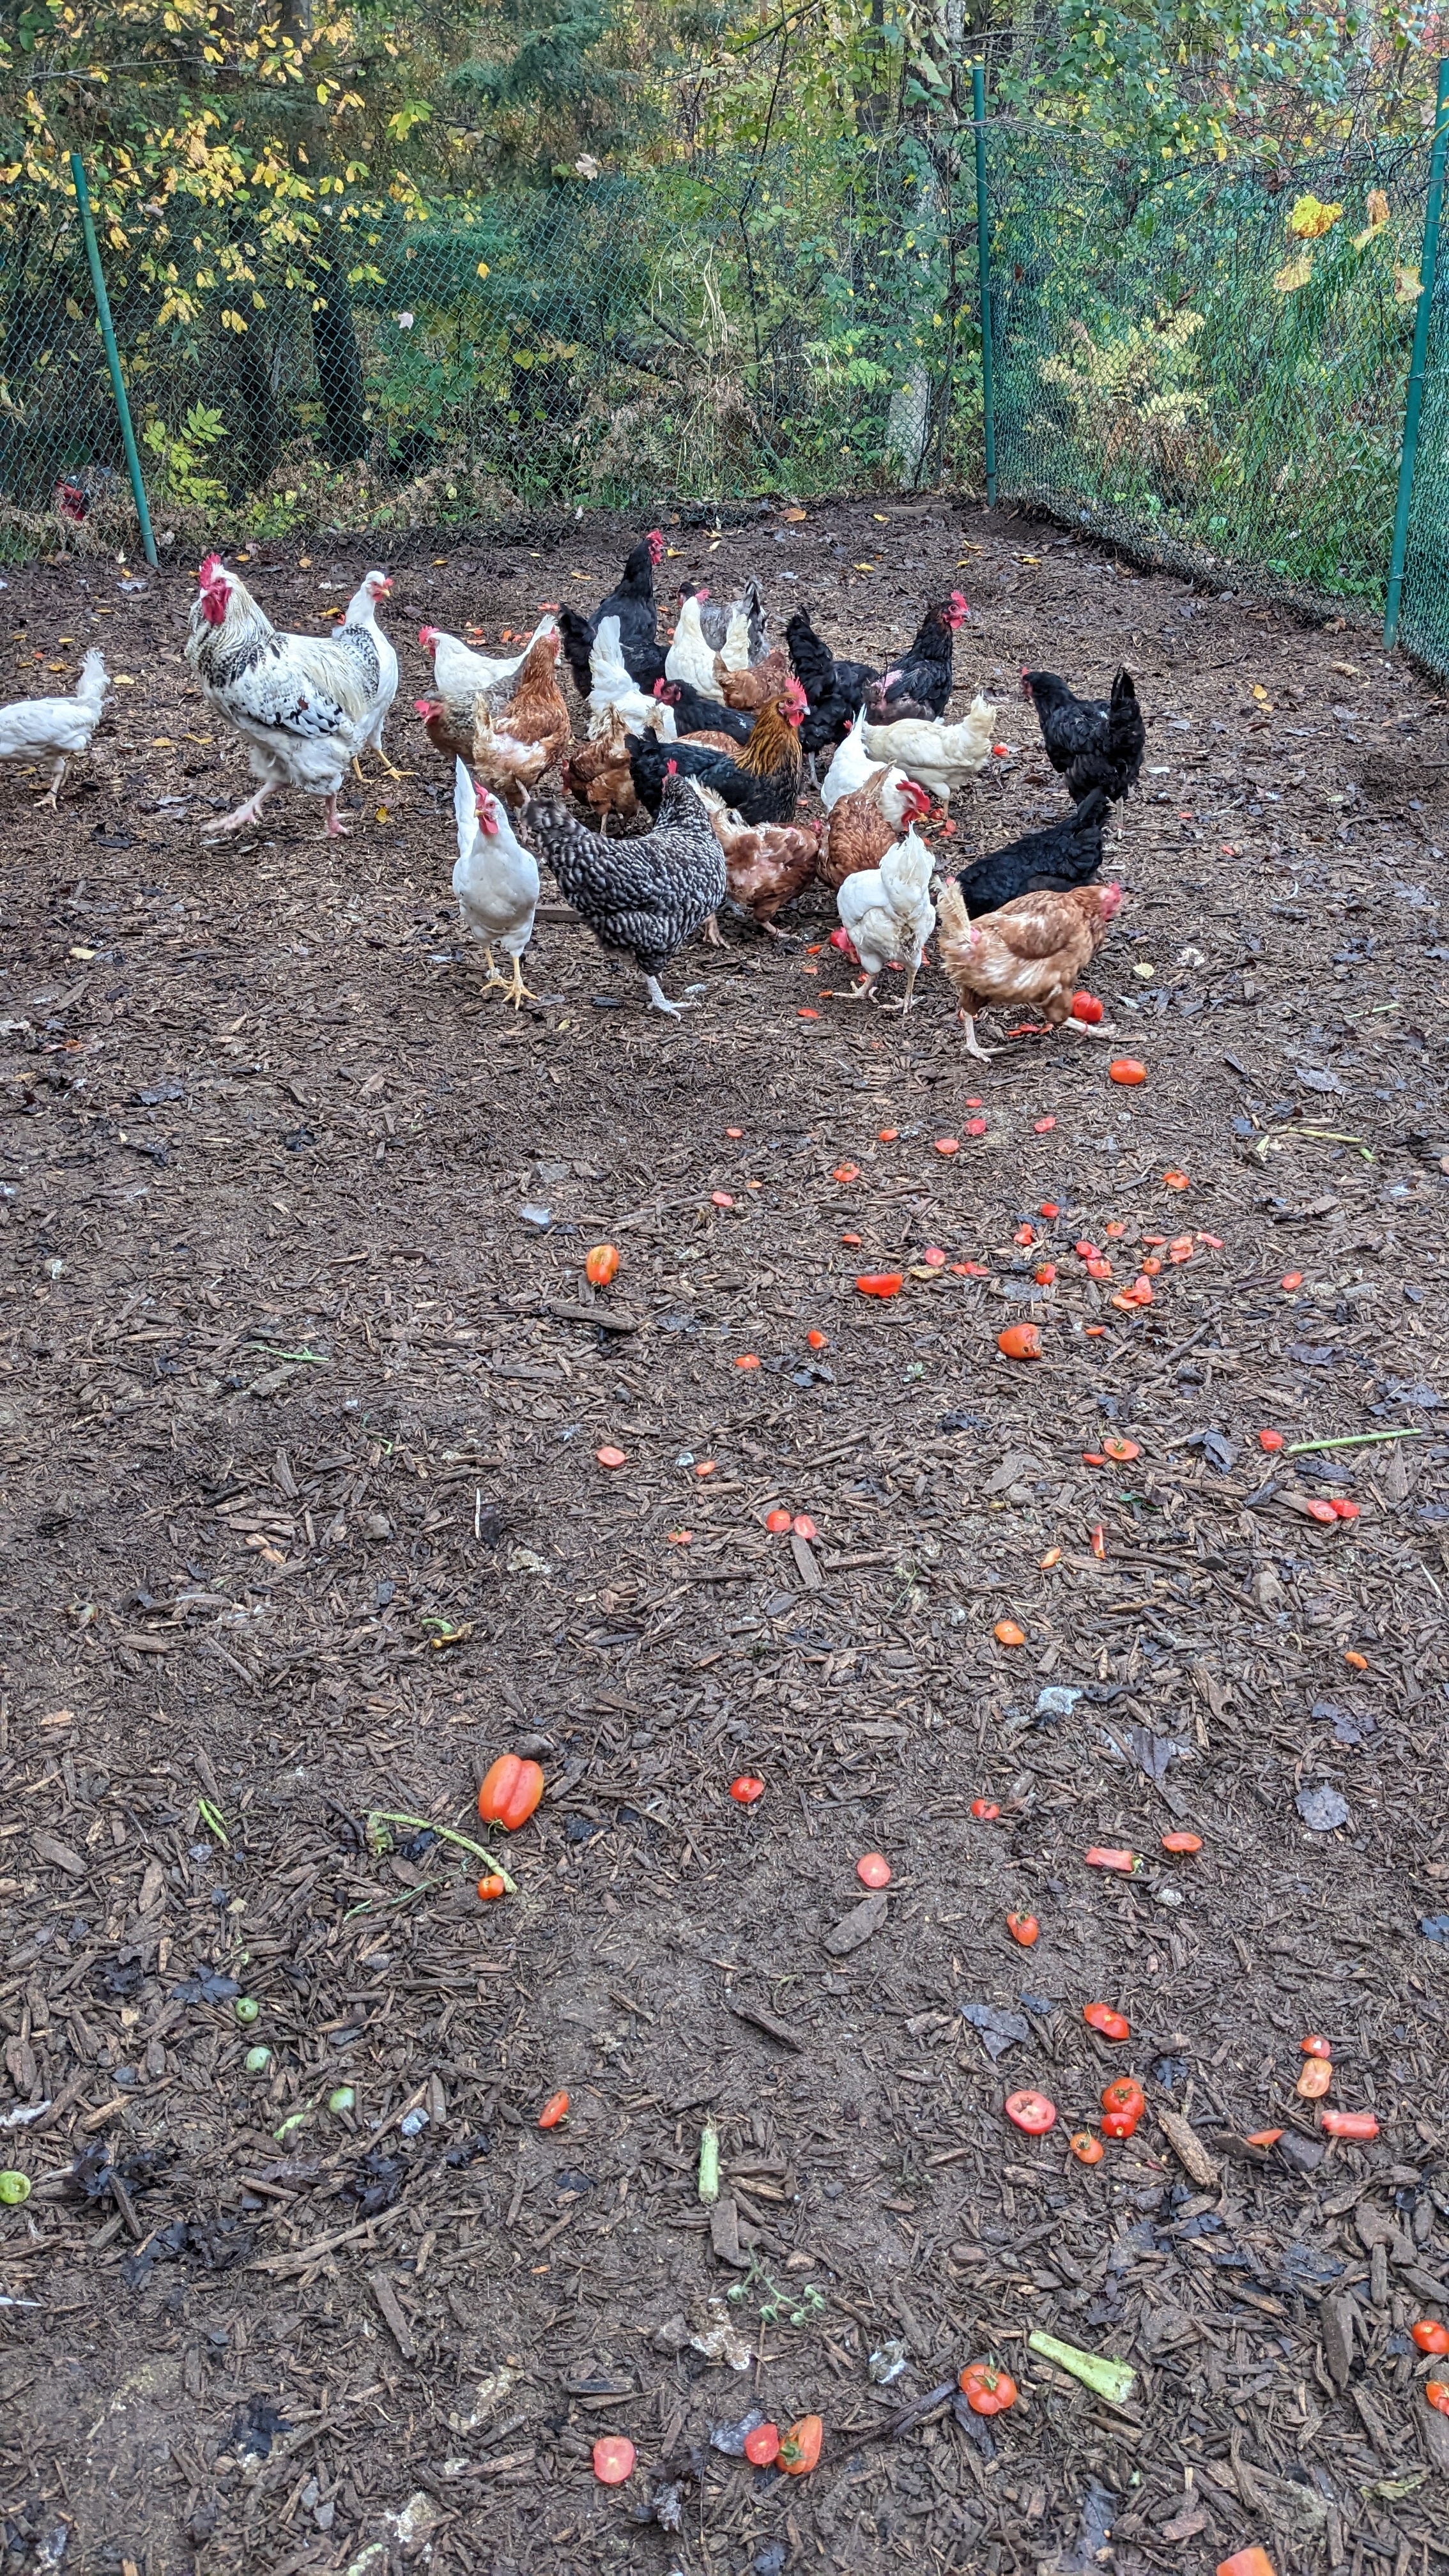
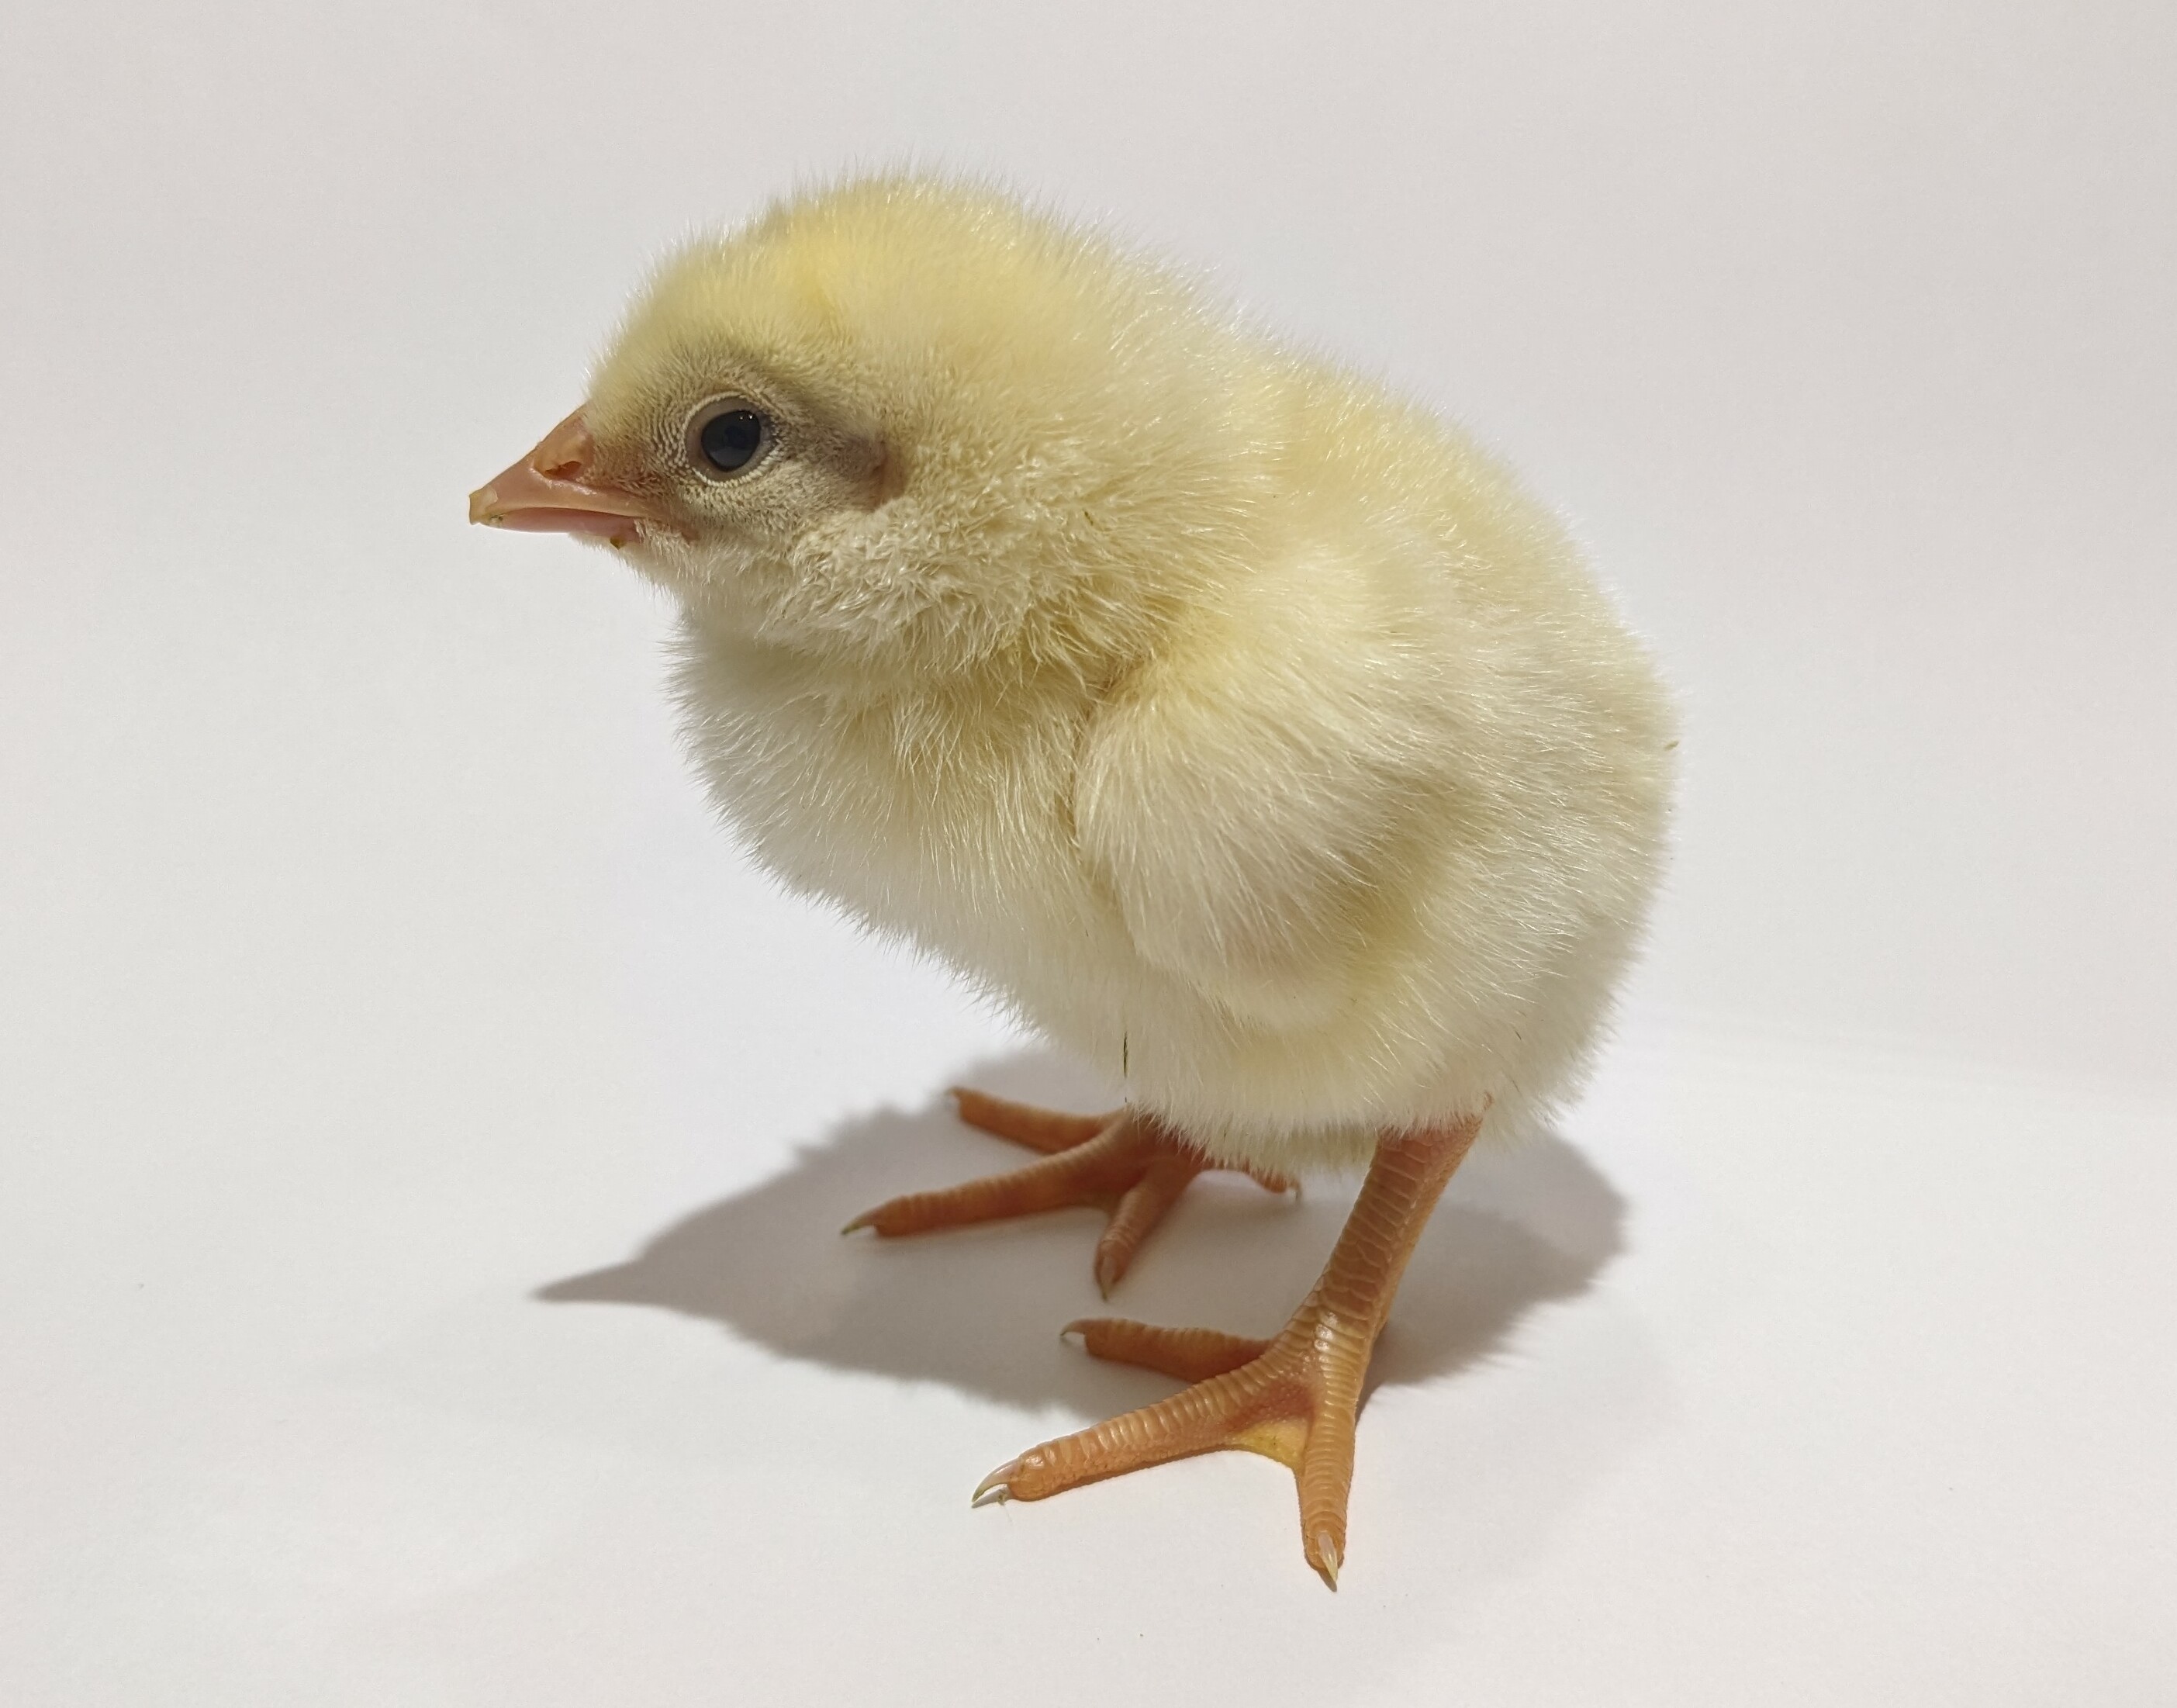
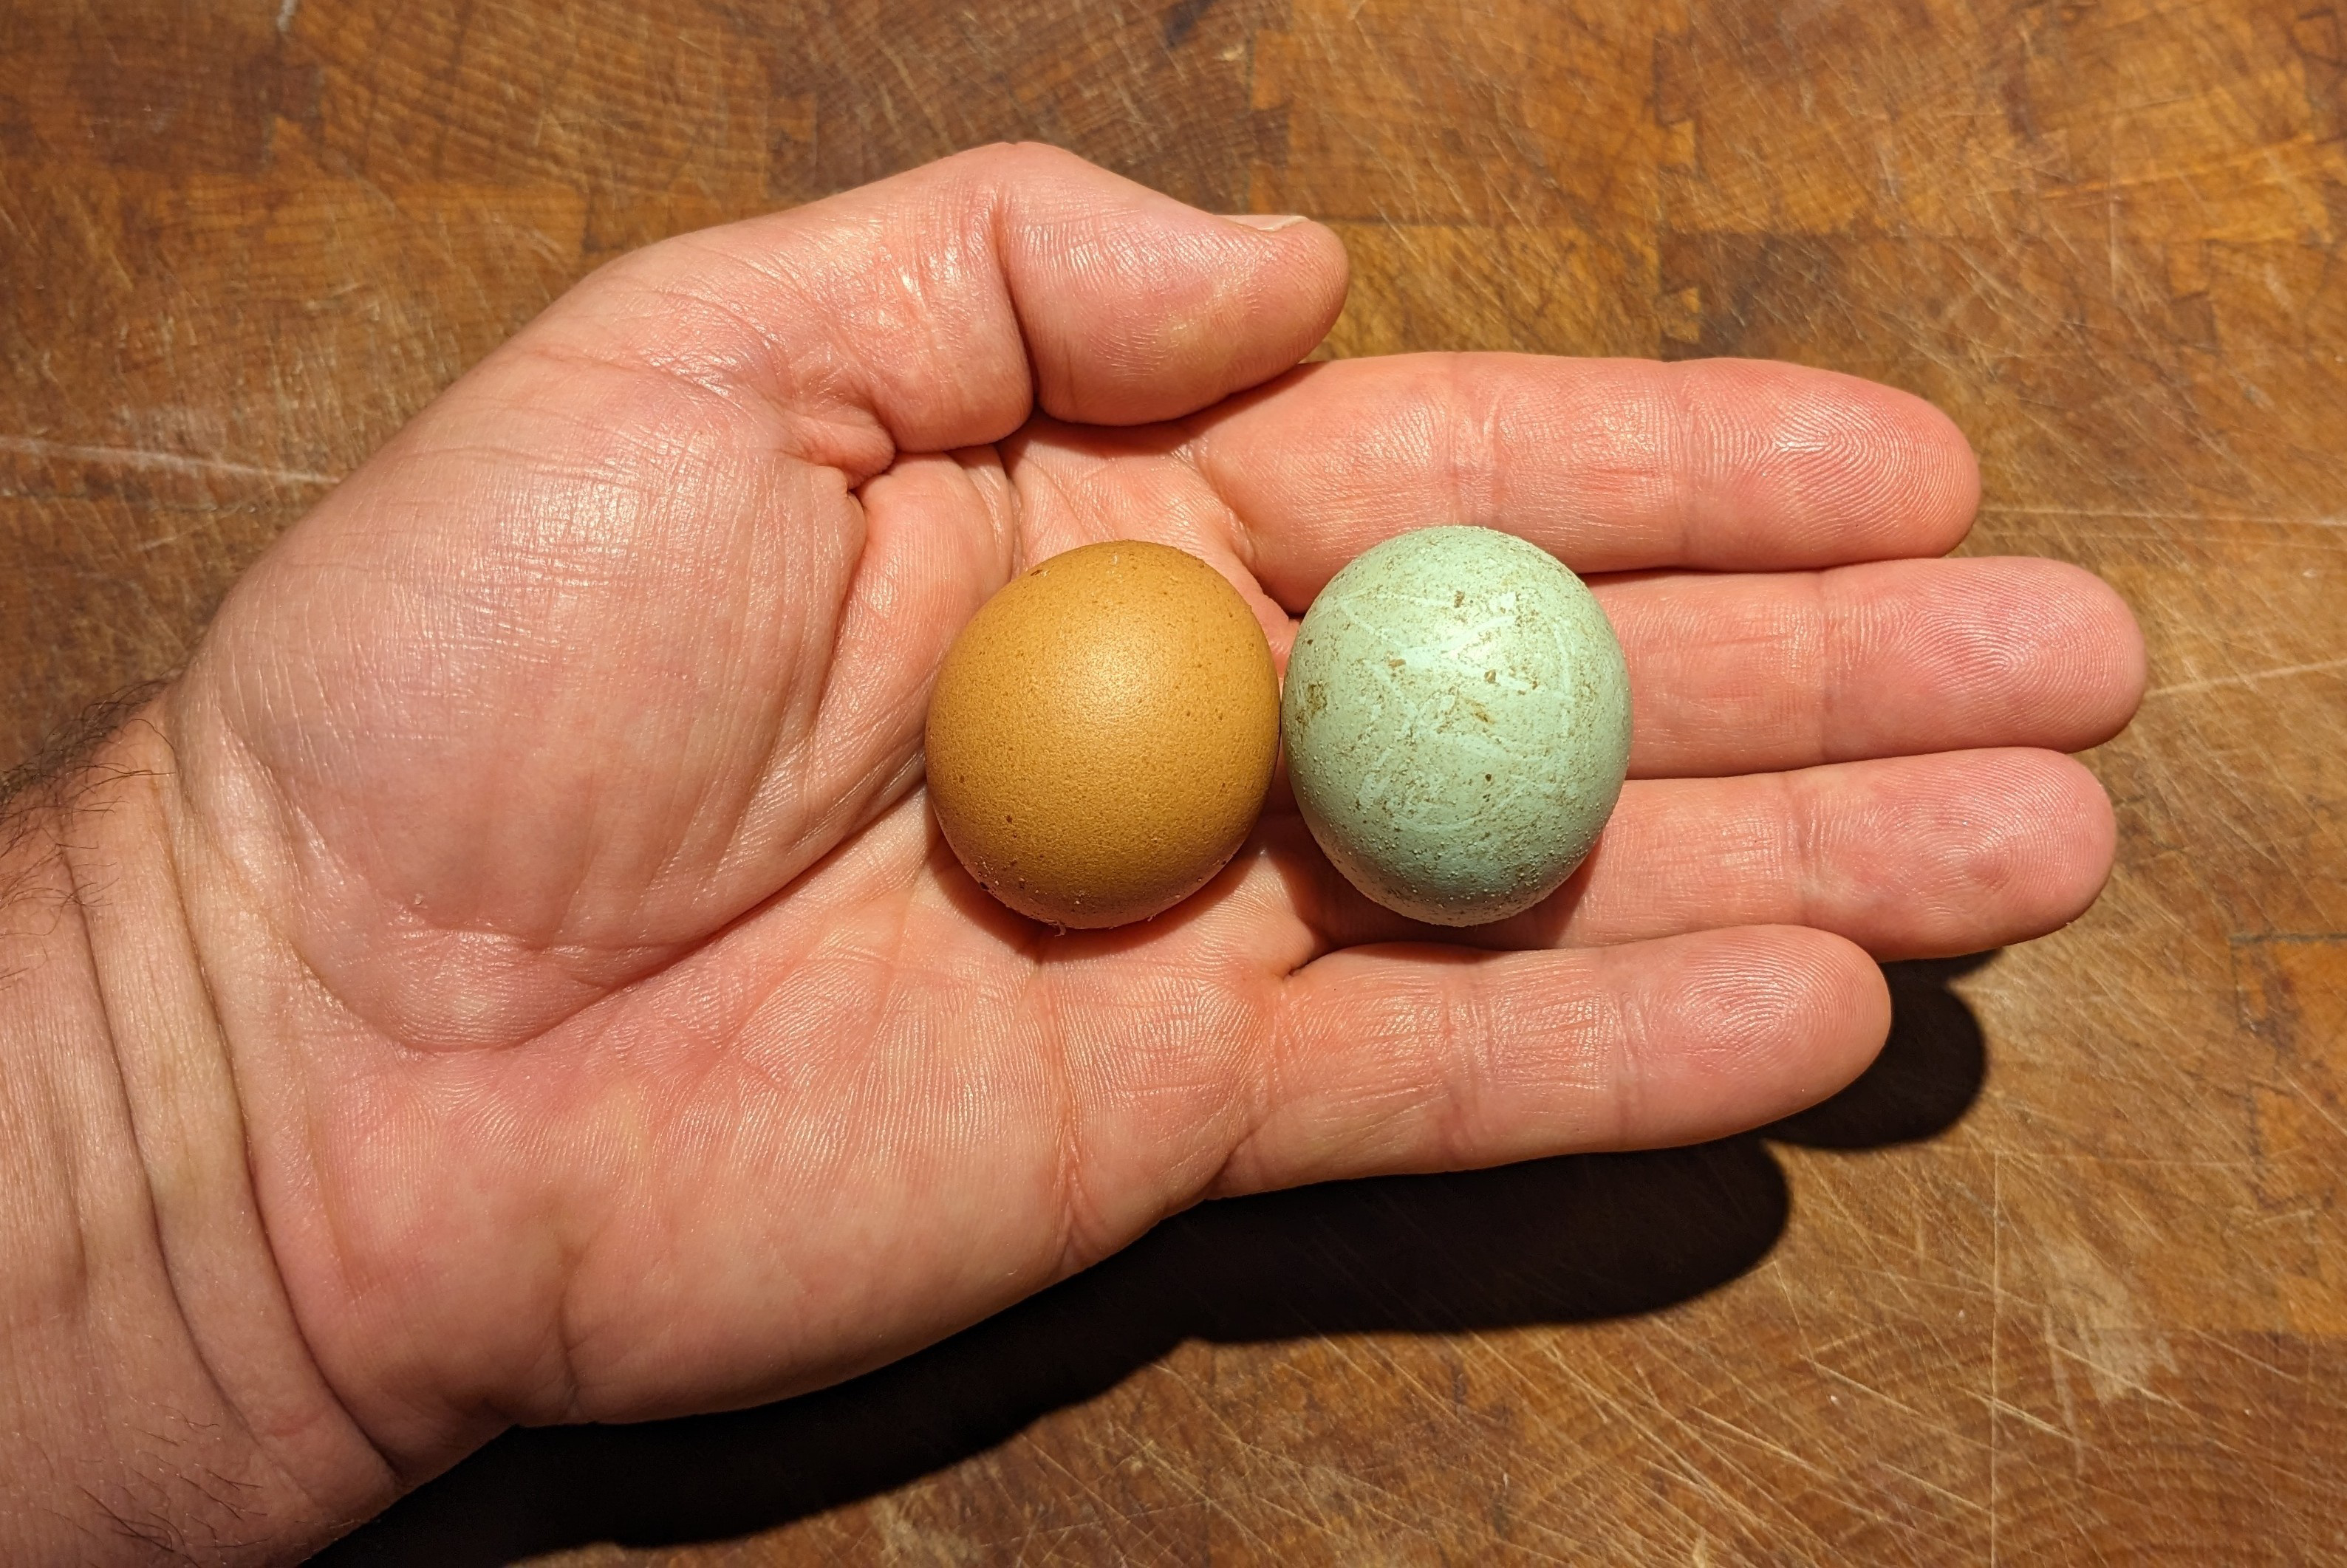
Lots of things effect yolk color. I’ve heard that commercial growers use feed with marigolds petal extract to make the yolks orange. Or birds eat a varied diet so their tools are generally fairly orange. I’ll keep an eye out, though.
 20·10 months ago
Has Google considered making their advertising engine better? Allow us to skip every ad. Allow us to block all those fucking cryptocurrency scam ads. Forcing me to watch an ad for a company that I’m not interested in guarantees that I will hate that company and never buy their product even if I need it. I will go out of my way to buy something from a company that hasn’t tried to ram their advertisements down my throat. If ads weren’t so fucking terrible I might agree to watch them.
No need. The post is perfect.
I mentioned taking the feet off in the scalder to my wife just now. She said, “That’s weird.” I find them very slippery once they’re plucked and we always handle them by the feet. Our plucker is quite a bit larger so that may contribute to the issue.
Decapitated is one of several acceptable killing methods in our province. It’s very fast.
A quick note.
This post of FULLY compliant with the rules of this community. Do not report this post because that would be report abuse.
If you are not interested in the topic, go on with your day. No need to comment or downvote. Act like a grownup.
This video includes the killing of an animal and blood. Do not watch the video if you will be shocked or upset by that. OP has clearly warned you. I have clearly warned you. If you do it anyway then you’re clearly an outage addict and this is not the community for you.
That is the exact process that we use.
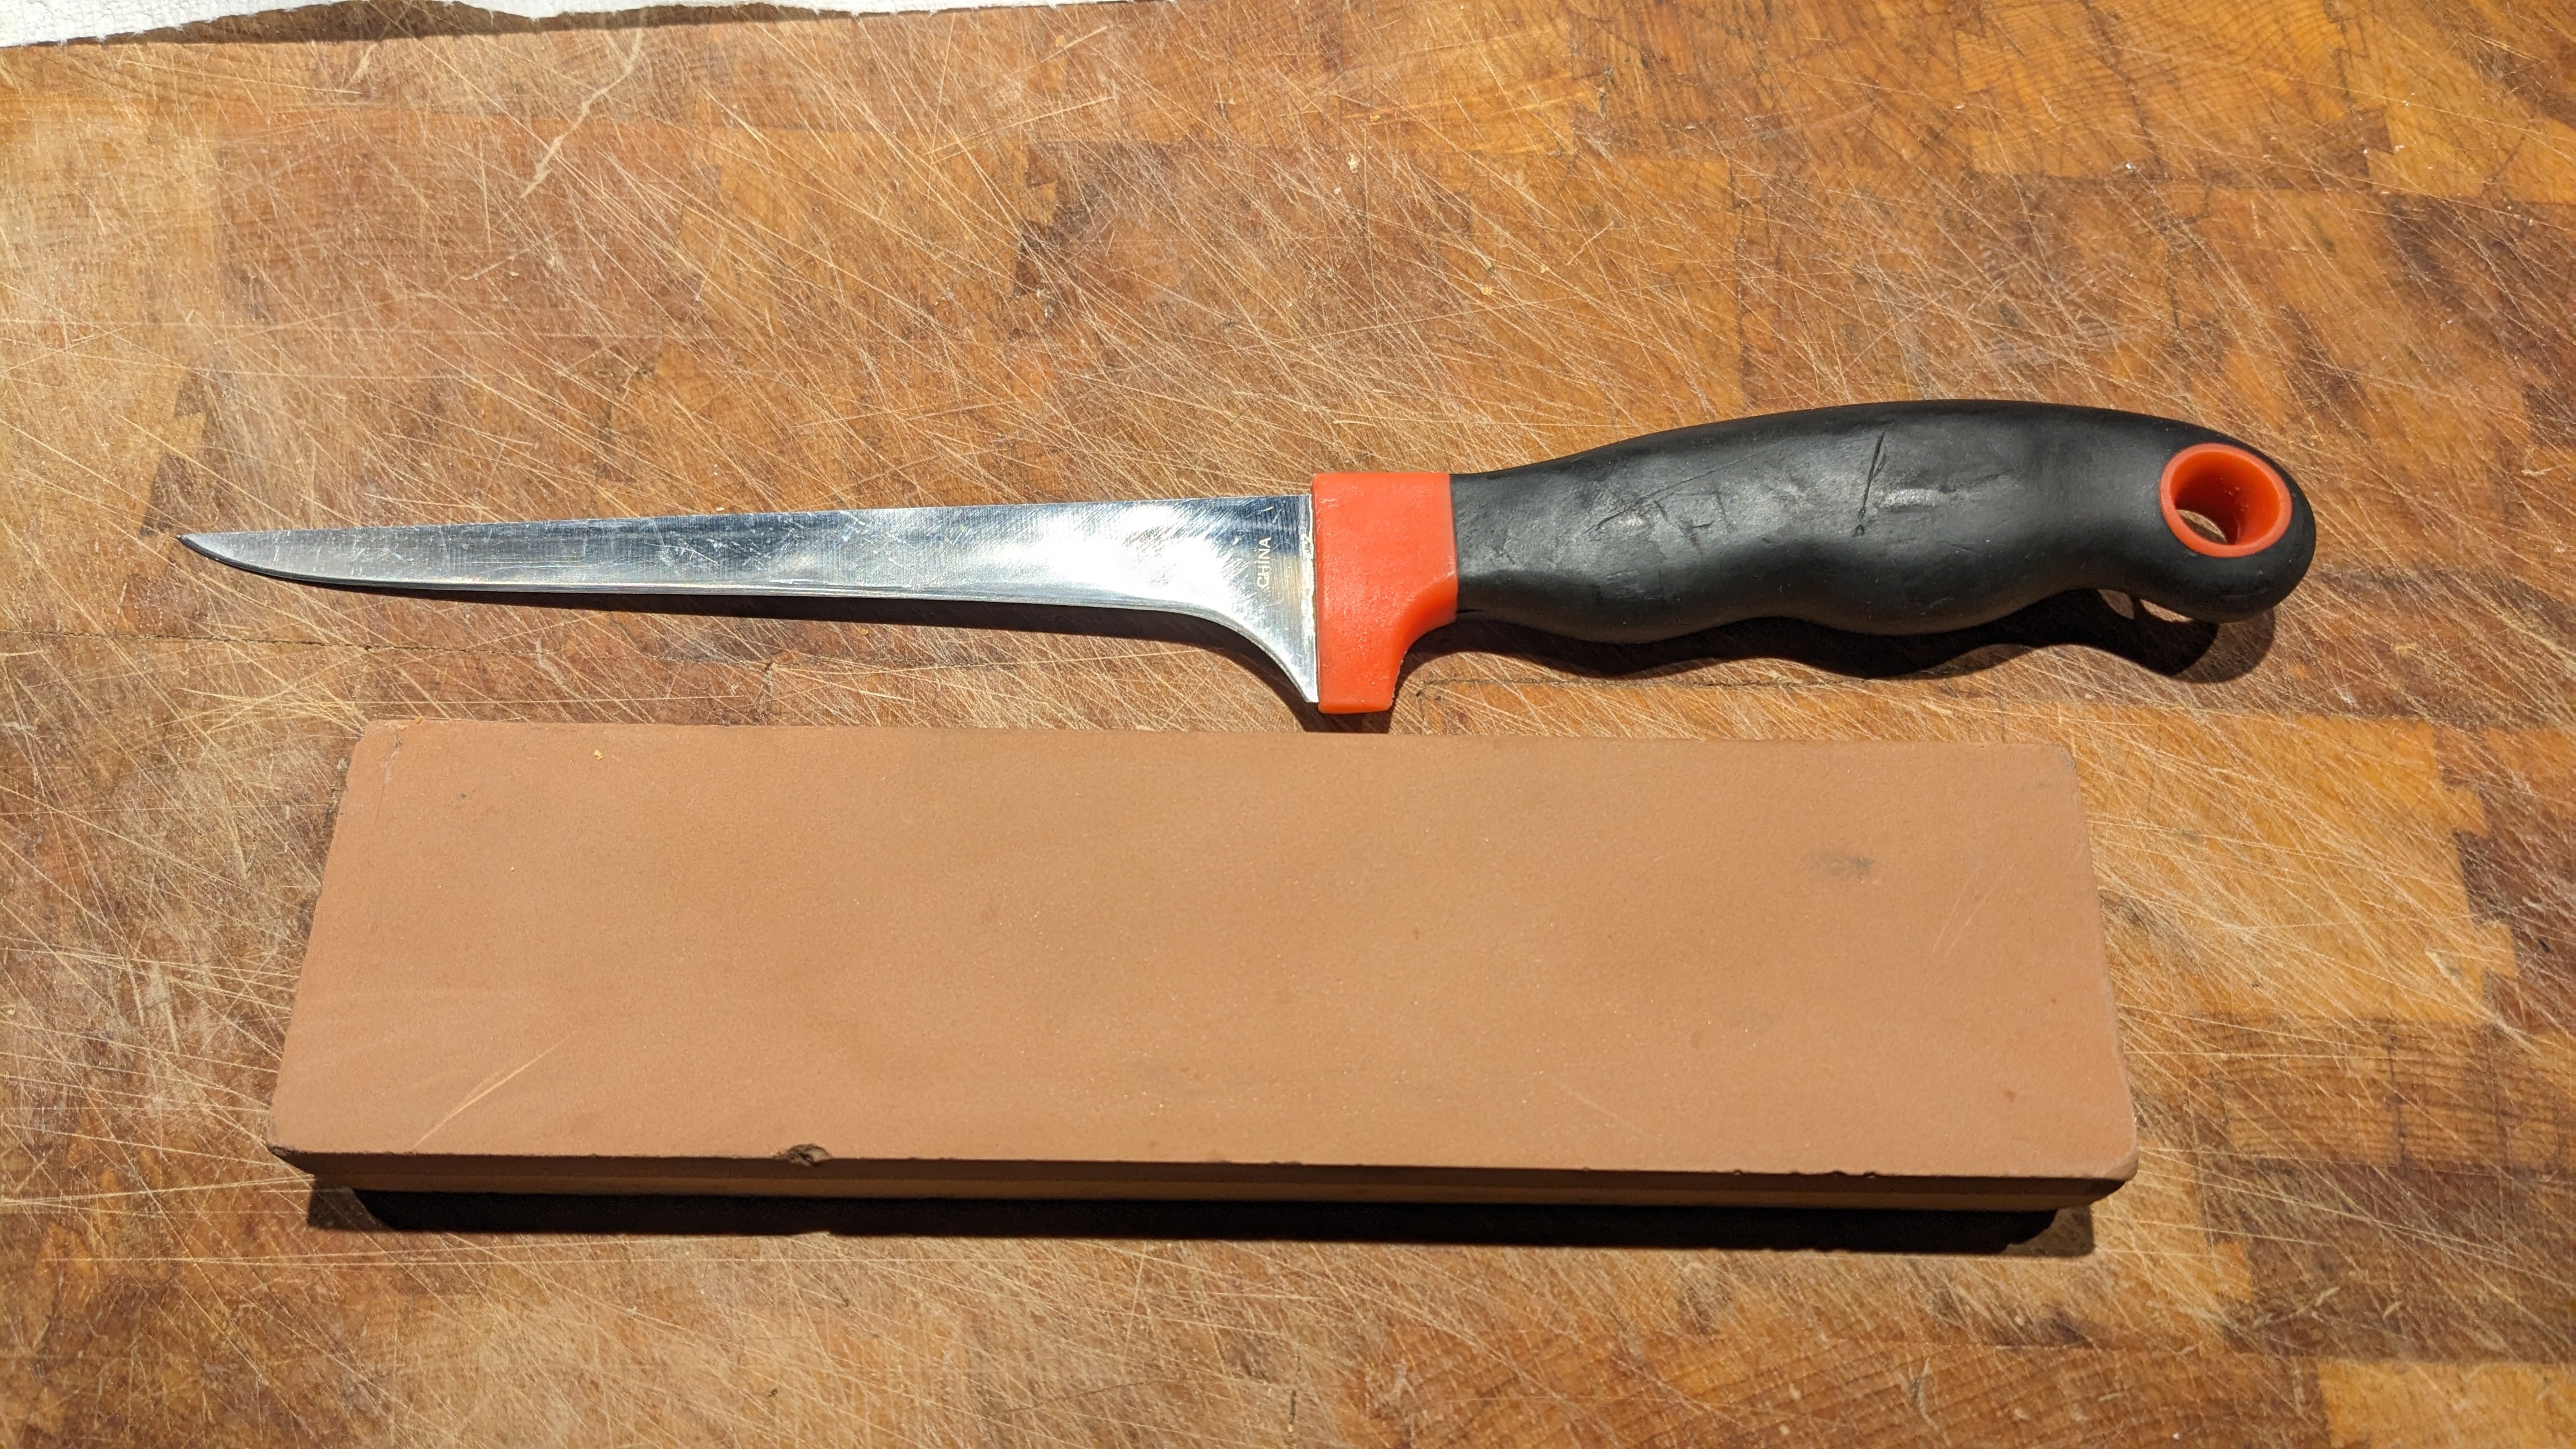
I use an 8" filet knife which I got as part of a field dressing kit which I touch it up with a 1000/4000 Japanese wet stone every 9 birds. 9 is as many birds as we can process through from live to fridge efficiently.
I place the birds in the cones with their bellies facing me, place my left index finger on the back of their head and my thumb on their beak, and make a single push stroke starting just anterior to their cheek bone while pulling slightly on the head.
Professional small abattoirs including the three we regularly use use metal poultry hangers.
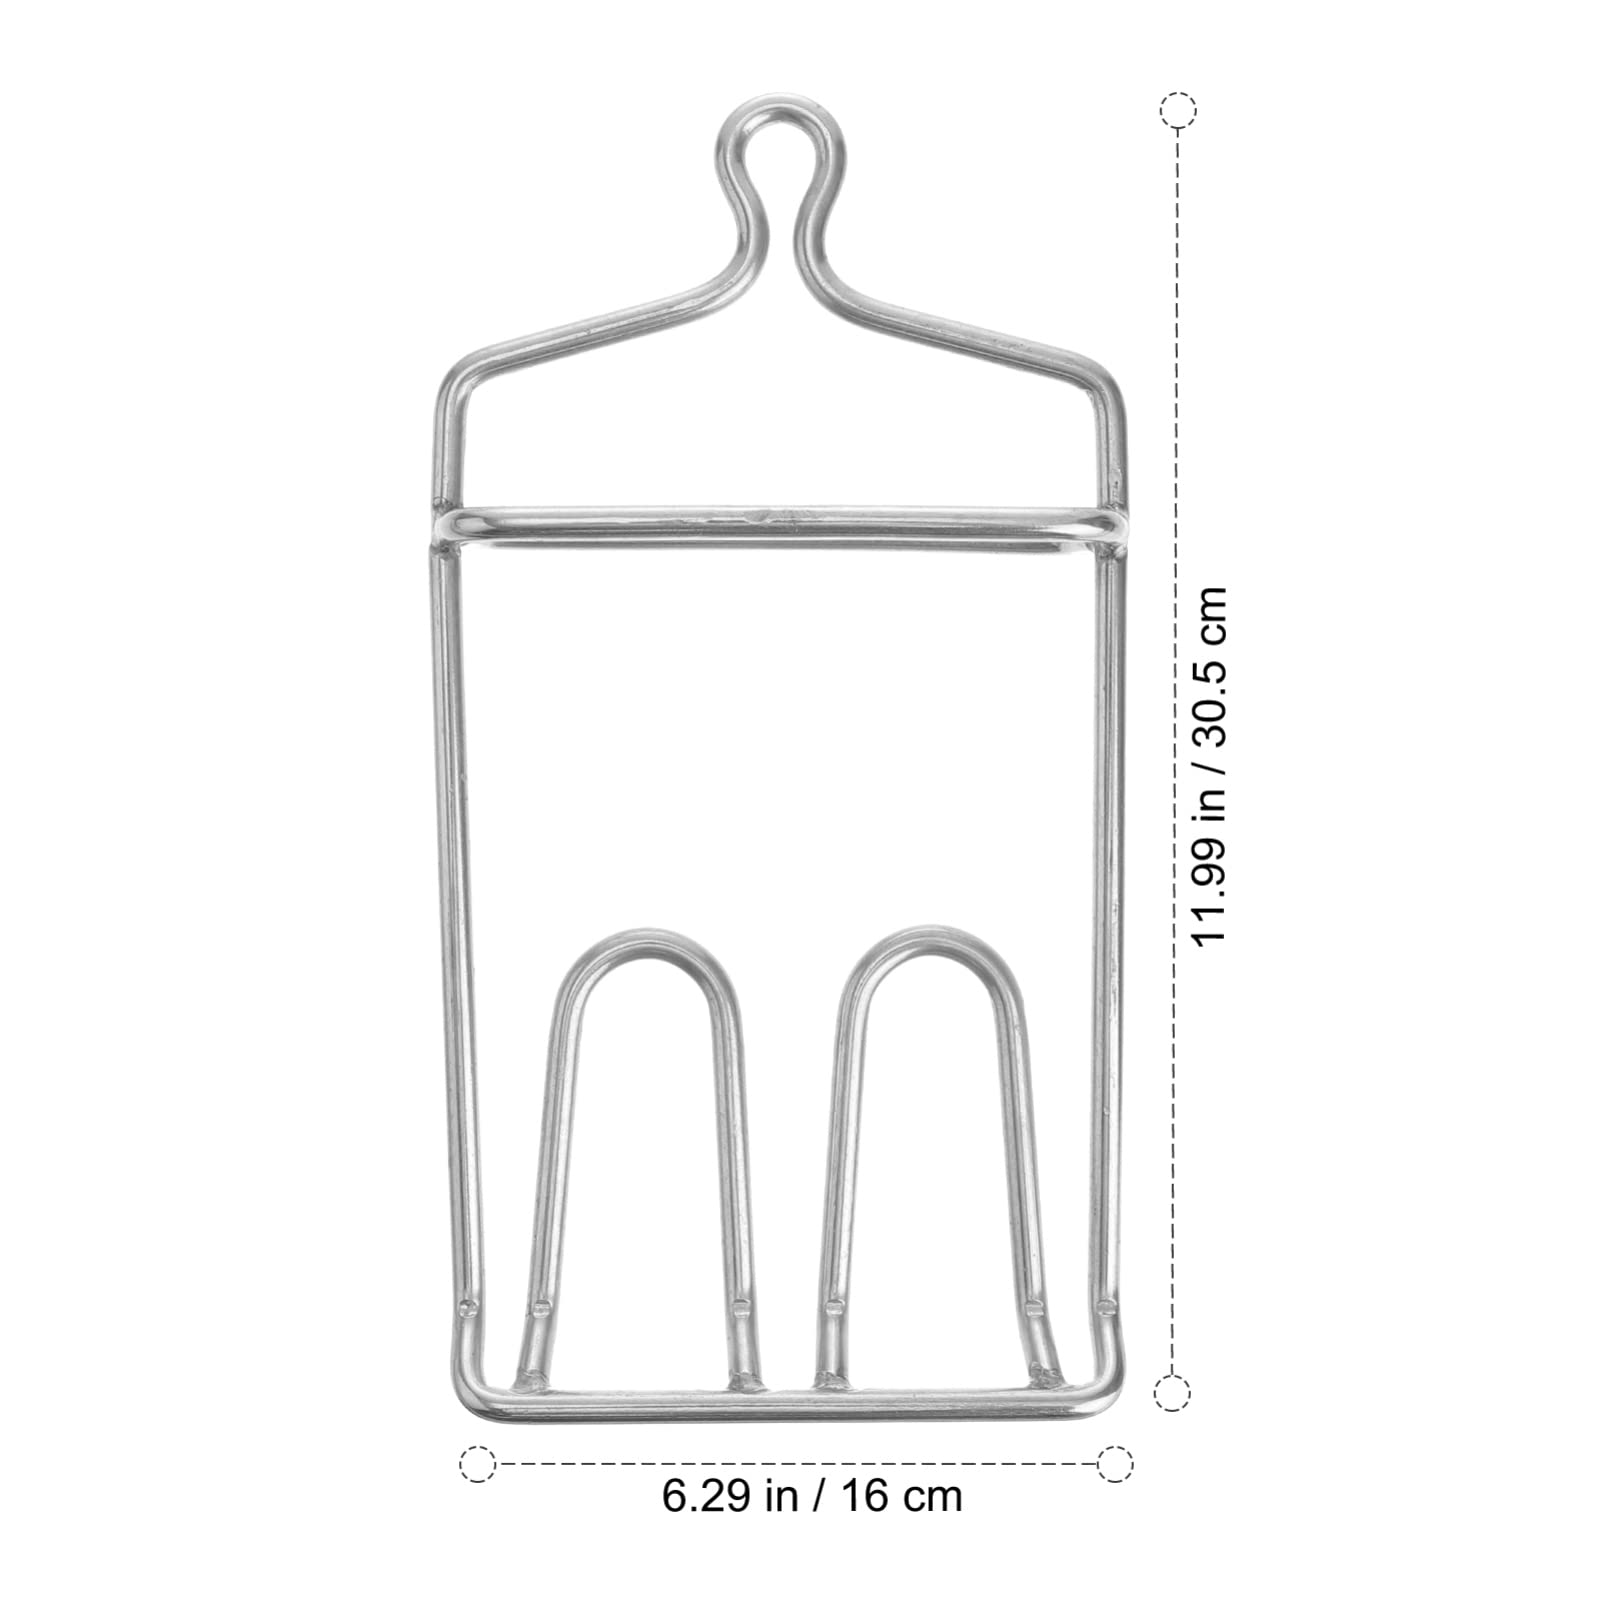
The knife and hanger form an electrical circuit for an electric stunner which prevents the birds from flapping. I’ve read many people say with great authority that preventing the birds from flapping protects the meat. That is bullshit. I have eaten hundreds of birds killed both ways and no one could possibly perceive any difference. I believe that stunning the birds is more about expedience and efficiency in the abattoir since the birds can be taken down immediately and placed in the scalder.
Save for the electric stunning they remove the heads exactly the same way I do. The old gentleman who owned the first abattoir we used to the time to show me how to do it properly. They no longer process poultry.
I take the feet off with the same knife after scalding, plucking, and initial cooling. I find that the feet make the bird easier to handle and scalding the feet makes them easy to peel for people who want to eat them. Removing the feet with the knife is much faster than the process in the video.
I remove the feet, do the neck and crop, then the gutting all on the cleaning table.
So our flow is, cone, killed, then set on a table, scalded, plucked, then into a garbage can filled with ice and water. They rest there until I’m ready to start cleaning. They come out of the water into the cleaning table, feet, neck and crop, gut and clean up, then into a second garbage can filled with ice and water where they rest and cool until my wife bags them and puts them in the fridge.
The next day I do the cutting. We make some spatchcocks but mostly do boneless skinless breasts and thighs, wing parts, and legs. The bones, skin, and carcasses go into a roasting pan and get roasted then my wife adds water and puts them in the oven overnight to make bone broth.
 01·11 months ago
Well, there is this.
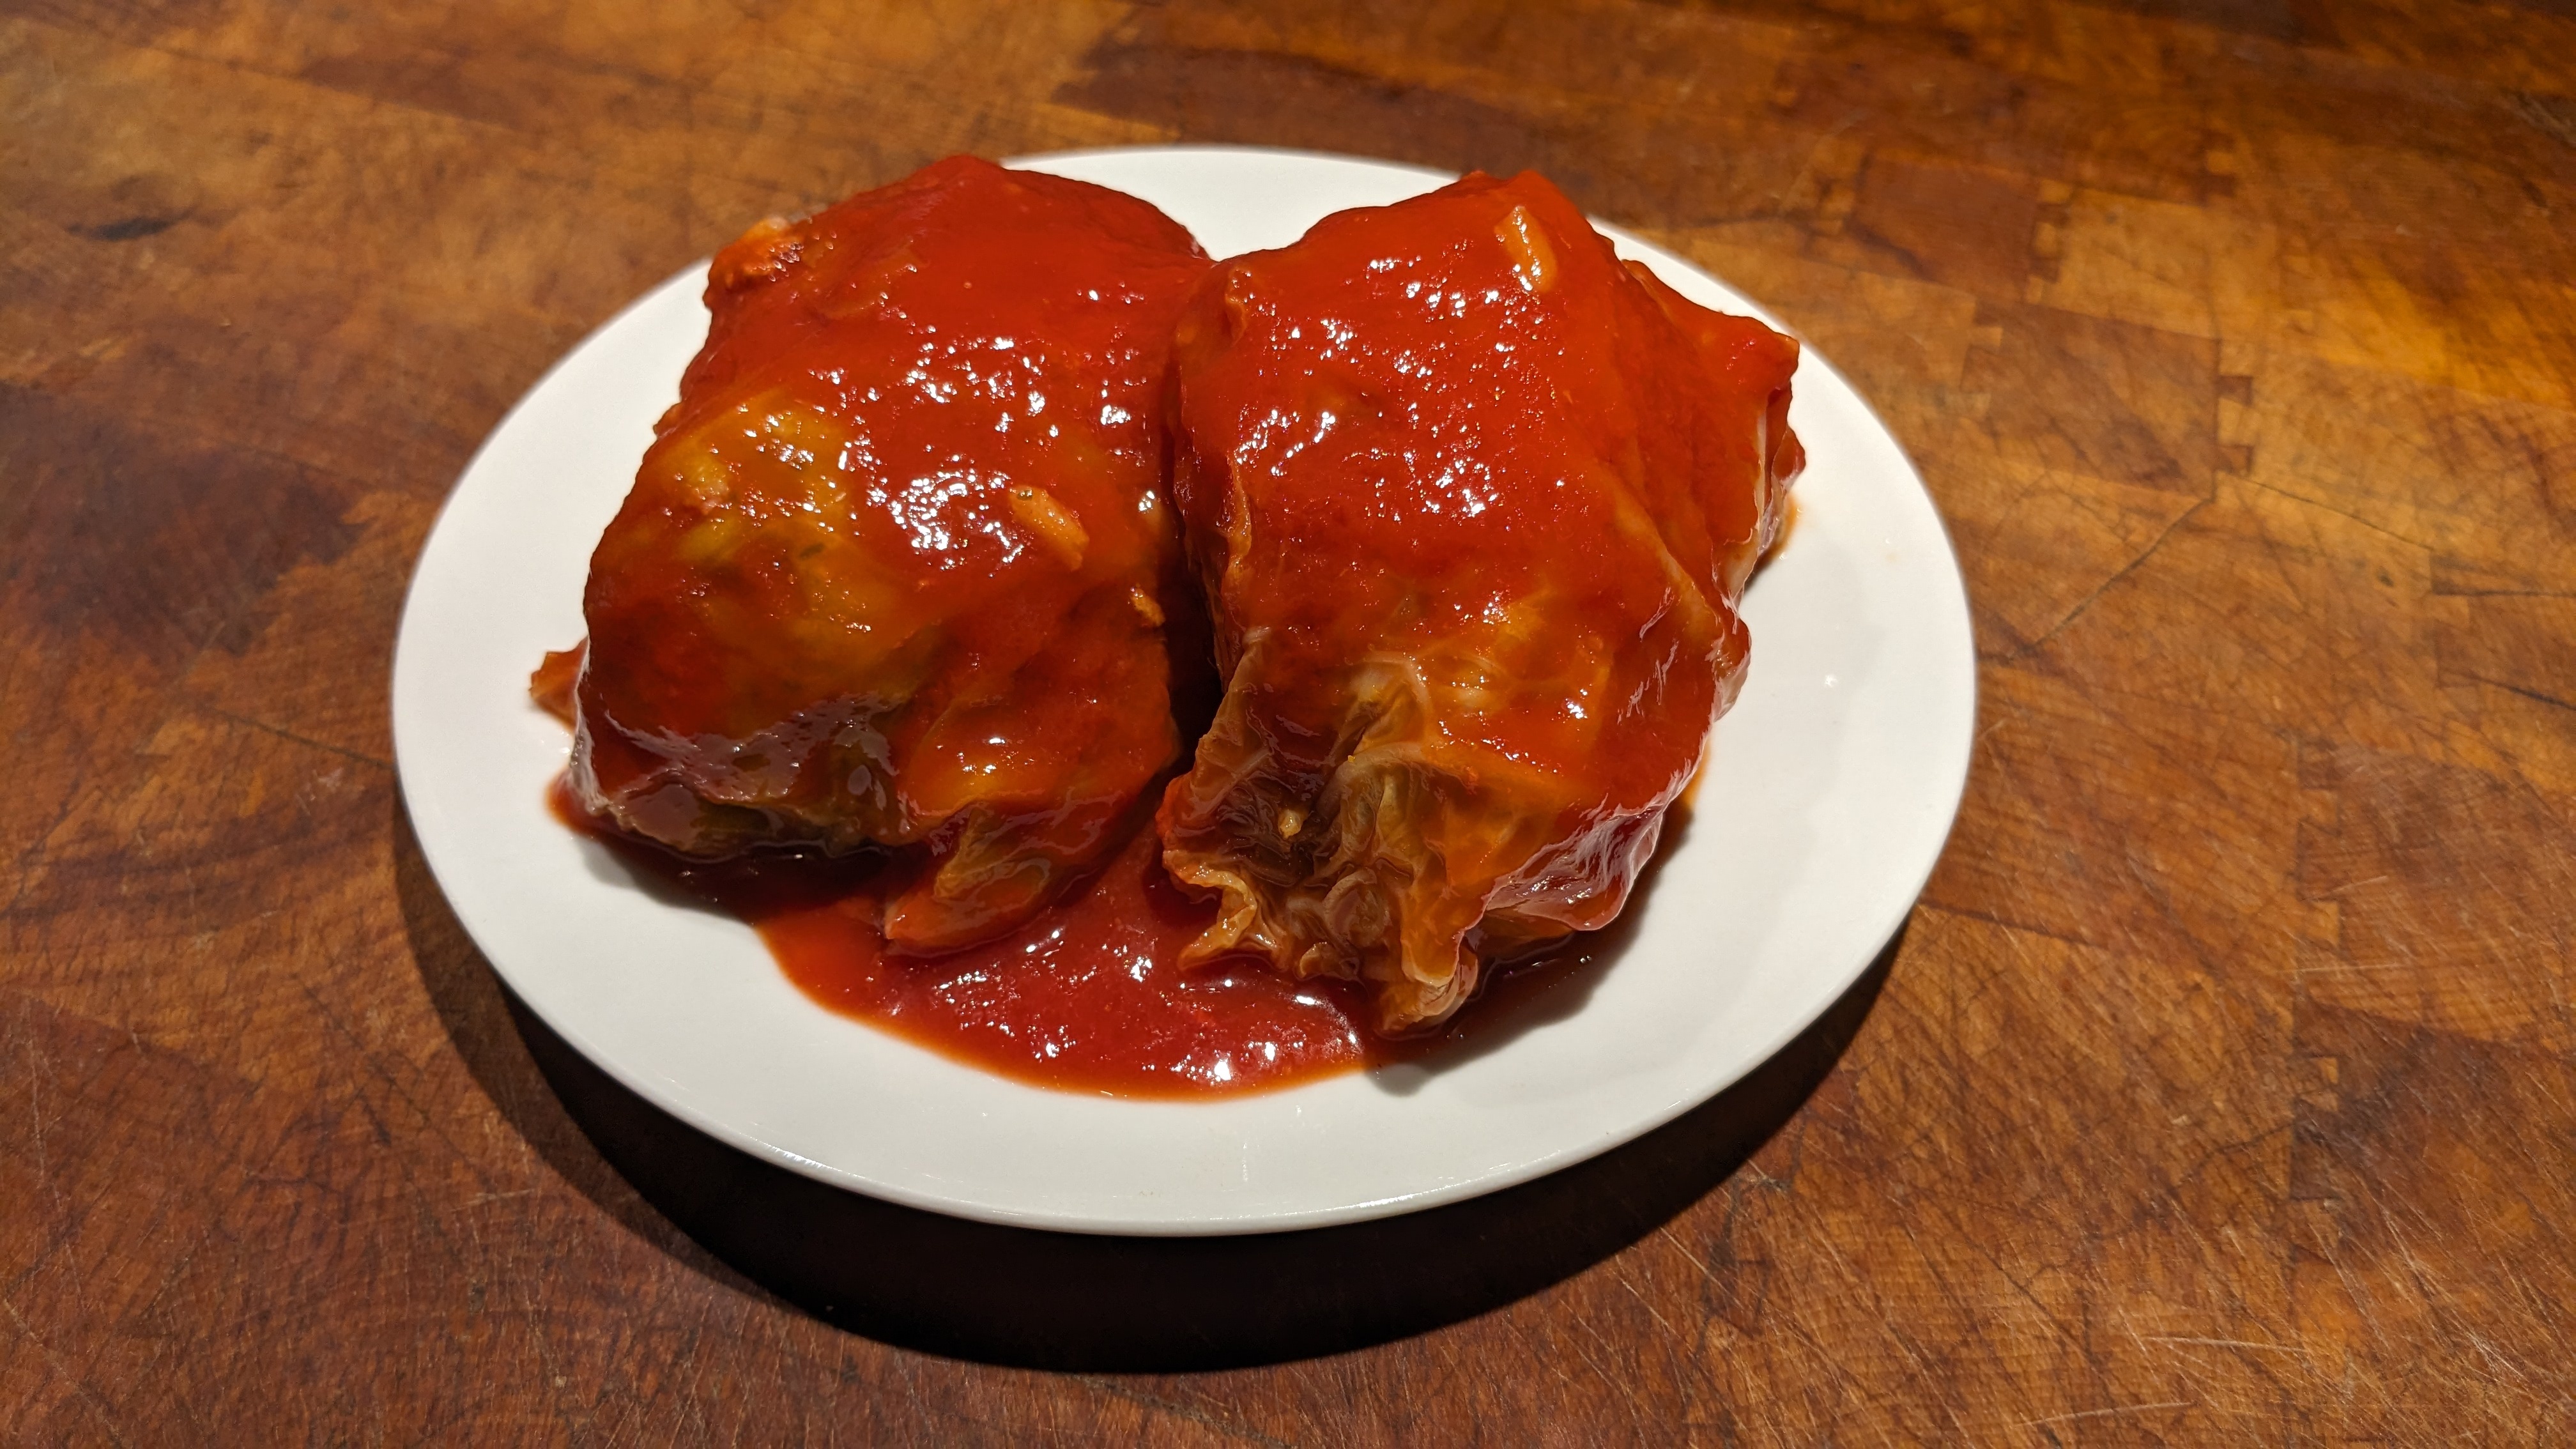
Are you familiar with poutine?
Opinions are like assholes, everyone has one.
I’m sorry your world is so devoid of joy.
Man…if the water is running onto your property from your neighbors property that sounds like a them problem, not a you problem. Depending on where you live this may be a code issue. The code probably requires them to direct their run-off to the ditch instead of on to your property. Maybe they would share the cost of your drainage work.
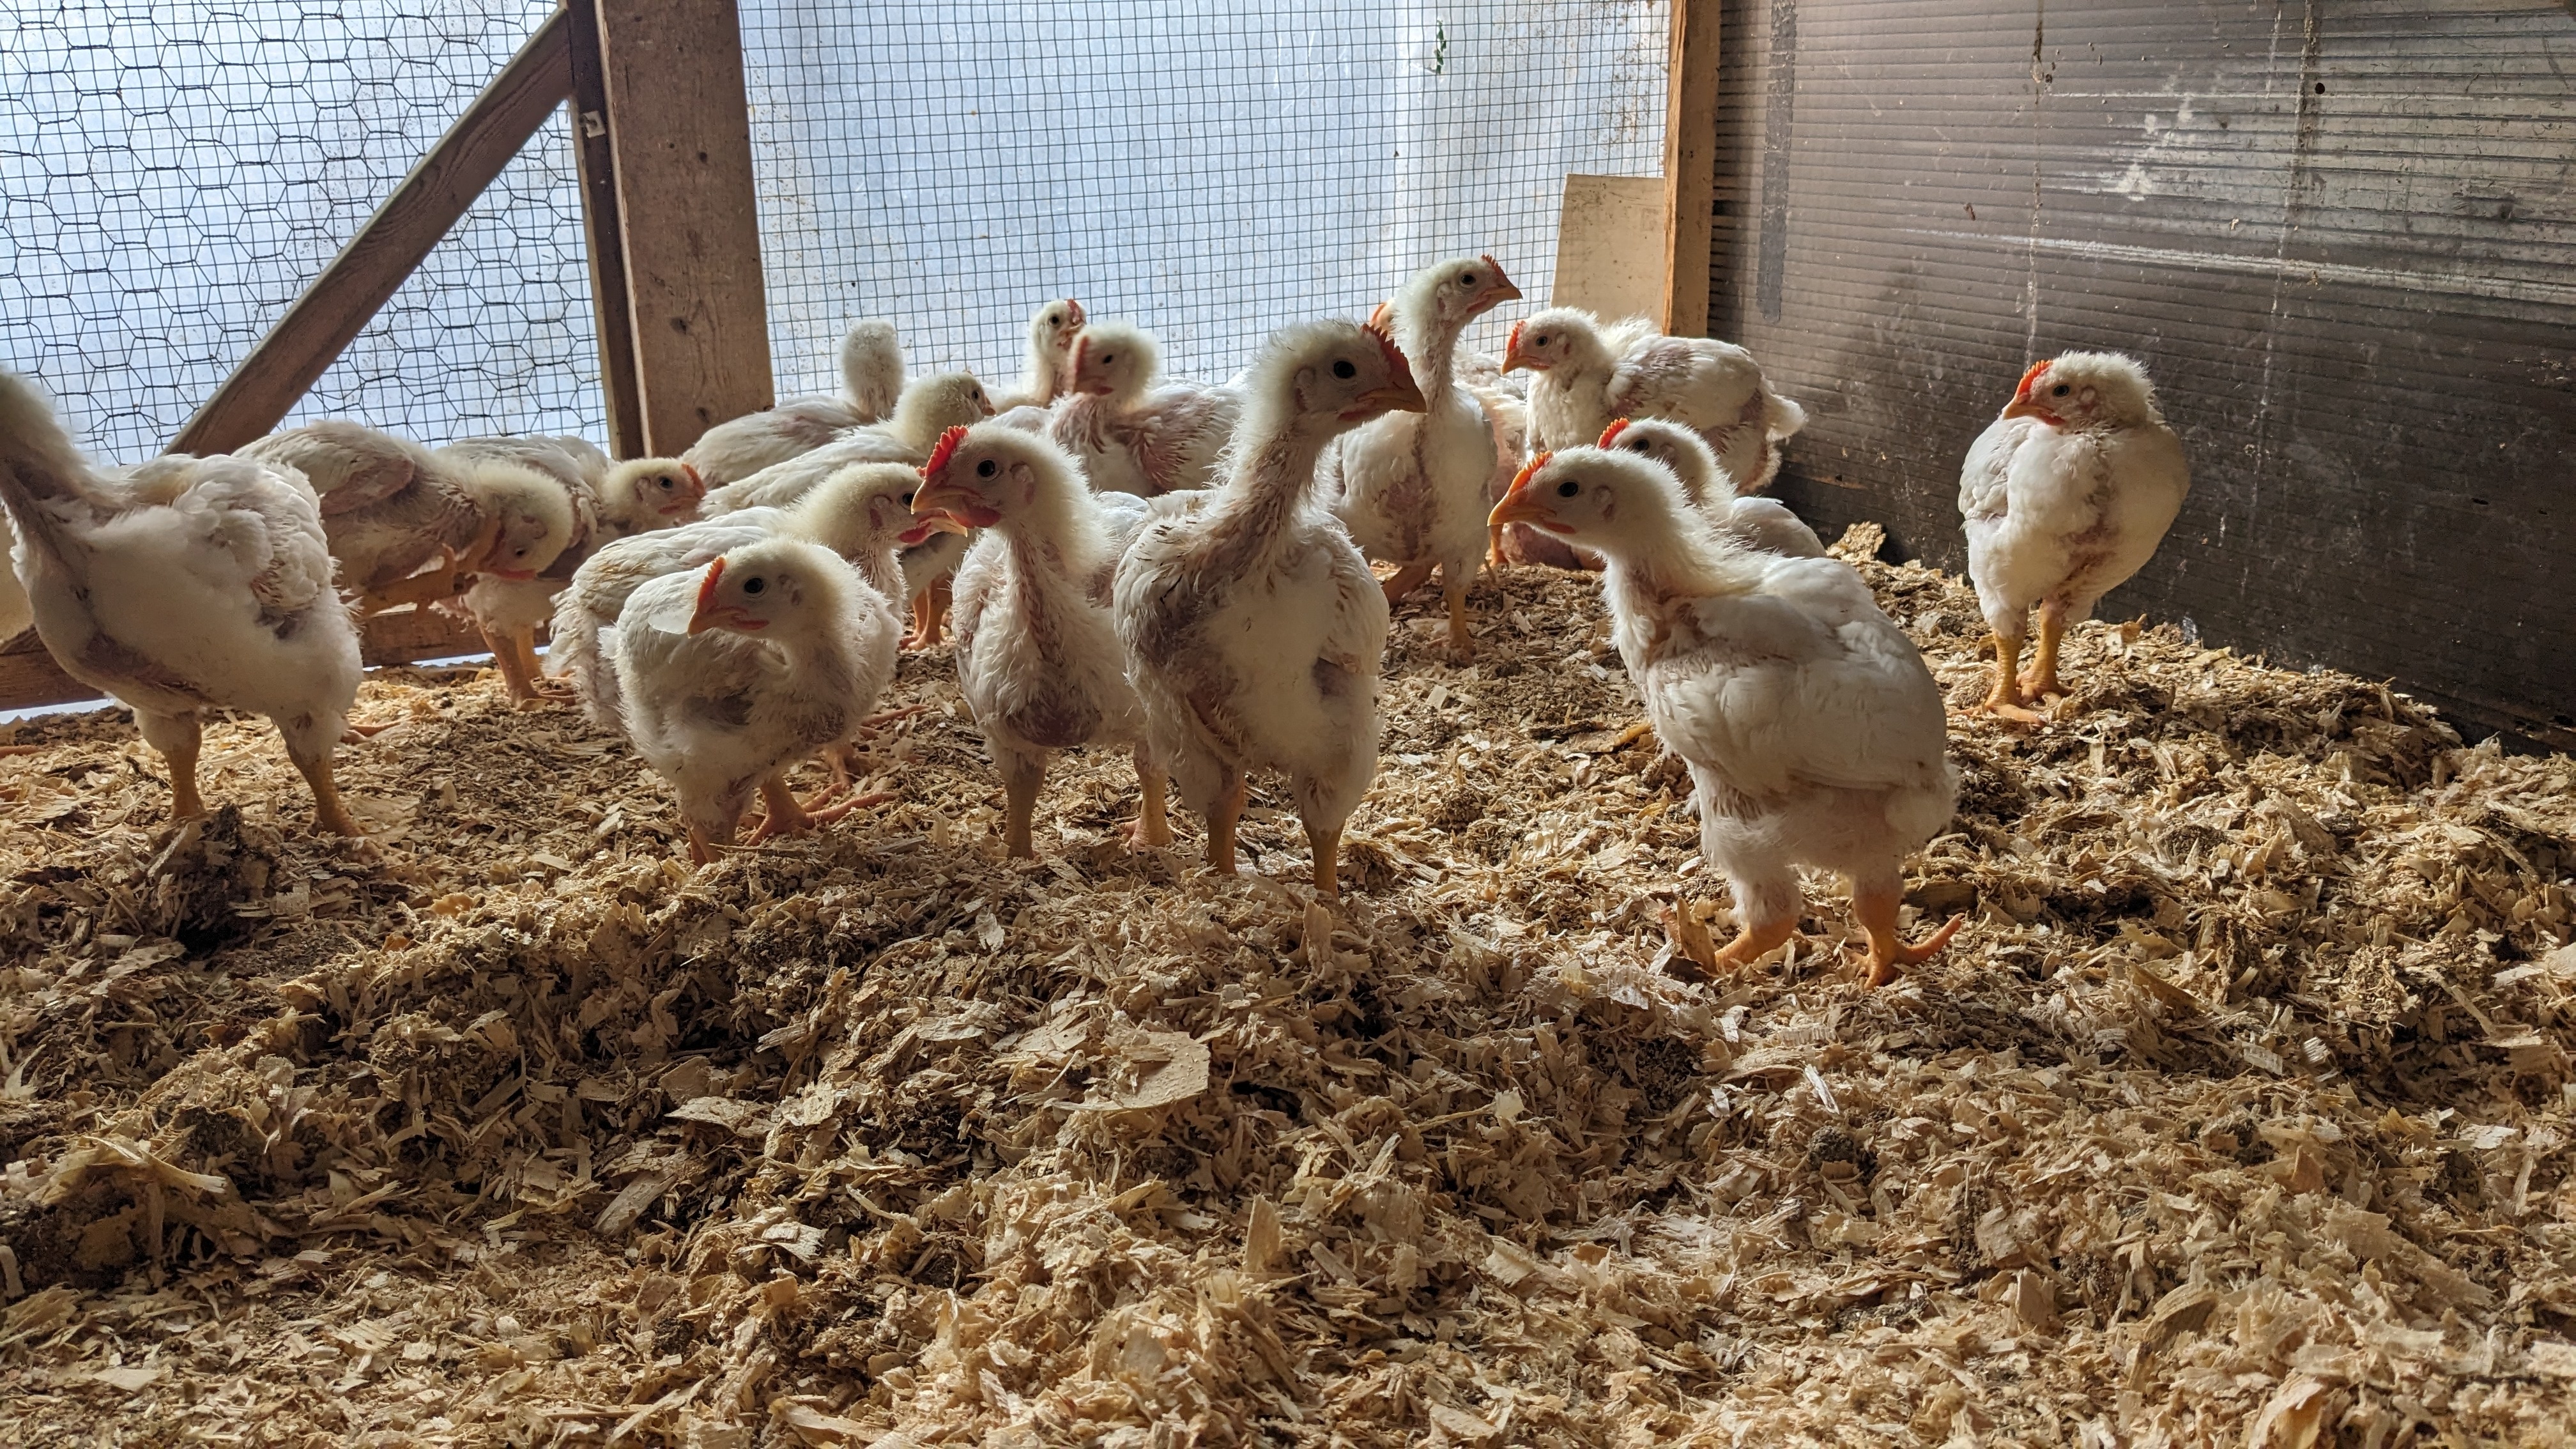
I knew that the sawdust wasn’t your first choice. Farming is food in, poop out, rushing from one crisis to another. You had a crisis and you dealt with it.
I was skeptical about the wood chips but they are by far the best yard cover we have ever used. You need a deep bed of them and the chickens will constantly turn them looking for bugs.
My wife spent last year digging the shavings that we use in the houses out through the chicken doors onto the wood chips. This spring it was a terrible mess that I had to dig out and replace with fresh wood chips. I asked her never to do that again. It means that the shavings have to take the long way out, sometimes down a hallway but the yard stays nicer.
A French drain with a 3" perforated corrugated pipe with a cloth sock works well for draining chicken yards.
Howdy. I’m sorry that your chickens got flooded. Weather and farming don’t always work together.
We found that shavings in our outdoor yards got matted and nasty. You will probably need to turn the sawdust to keep it loose. It will also likely get trampled down into the mud.
Not a criticism, just some notes based on our experience.
My wife found a local place that will deliver small amounts of wood chips. I have a 20 cm thick layer in our poultry yards and it’s the best thing ever.
The sawdust will get you through but I would plan to switch and try to find a supply of chips before the snow flies if you can. Some local tree services will deliver part loads of chips.
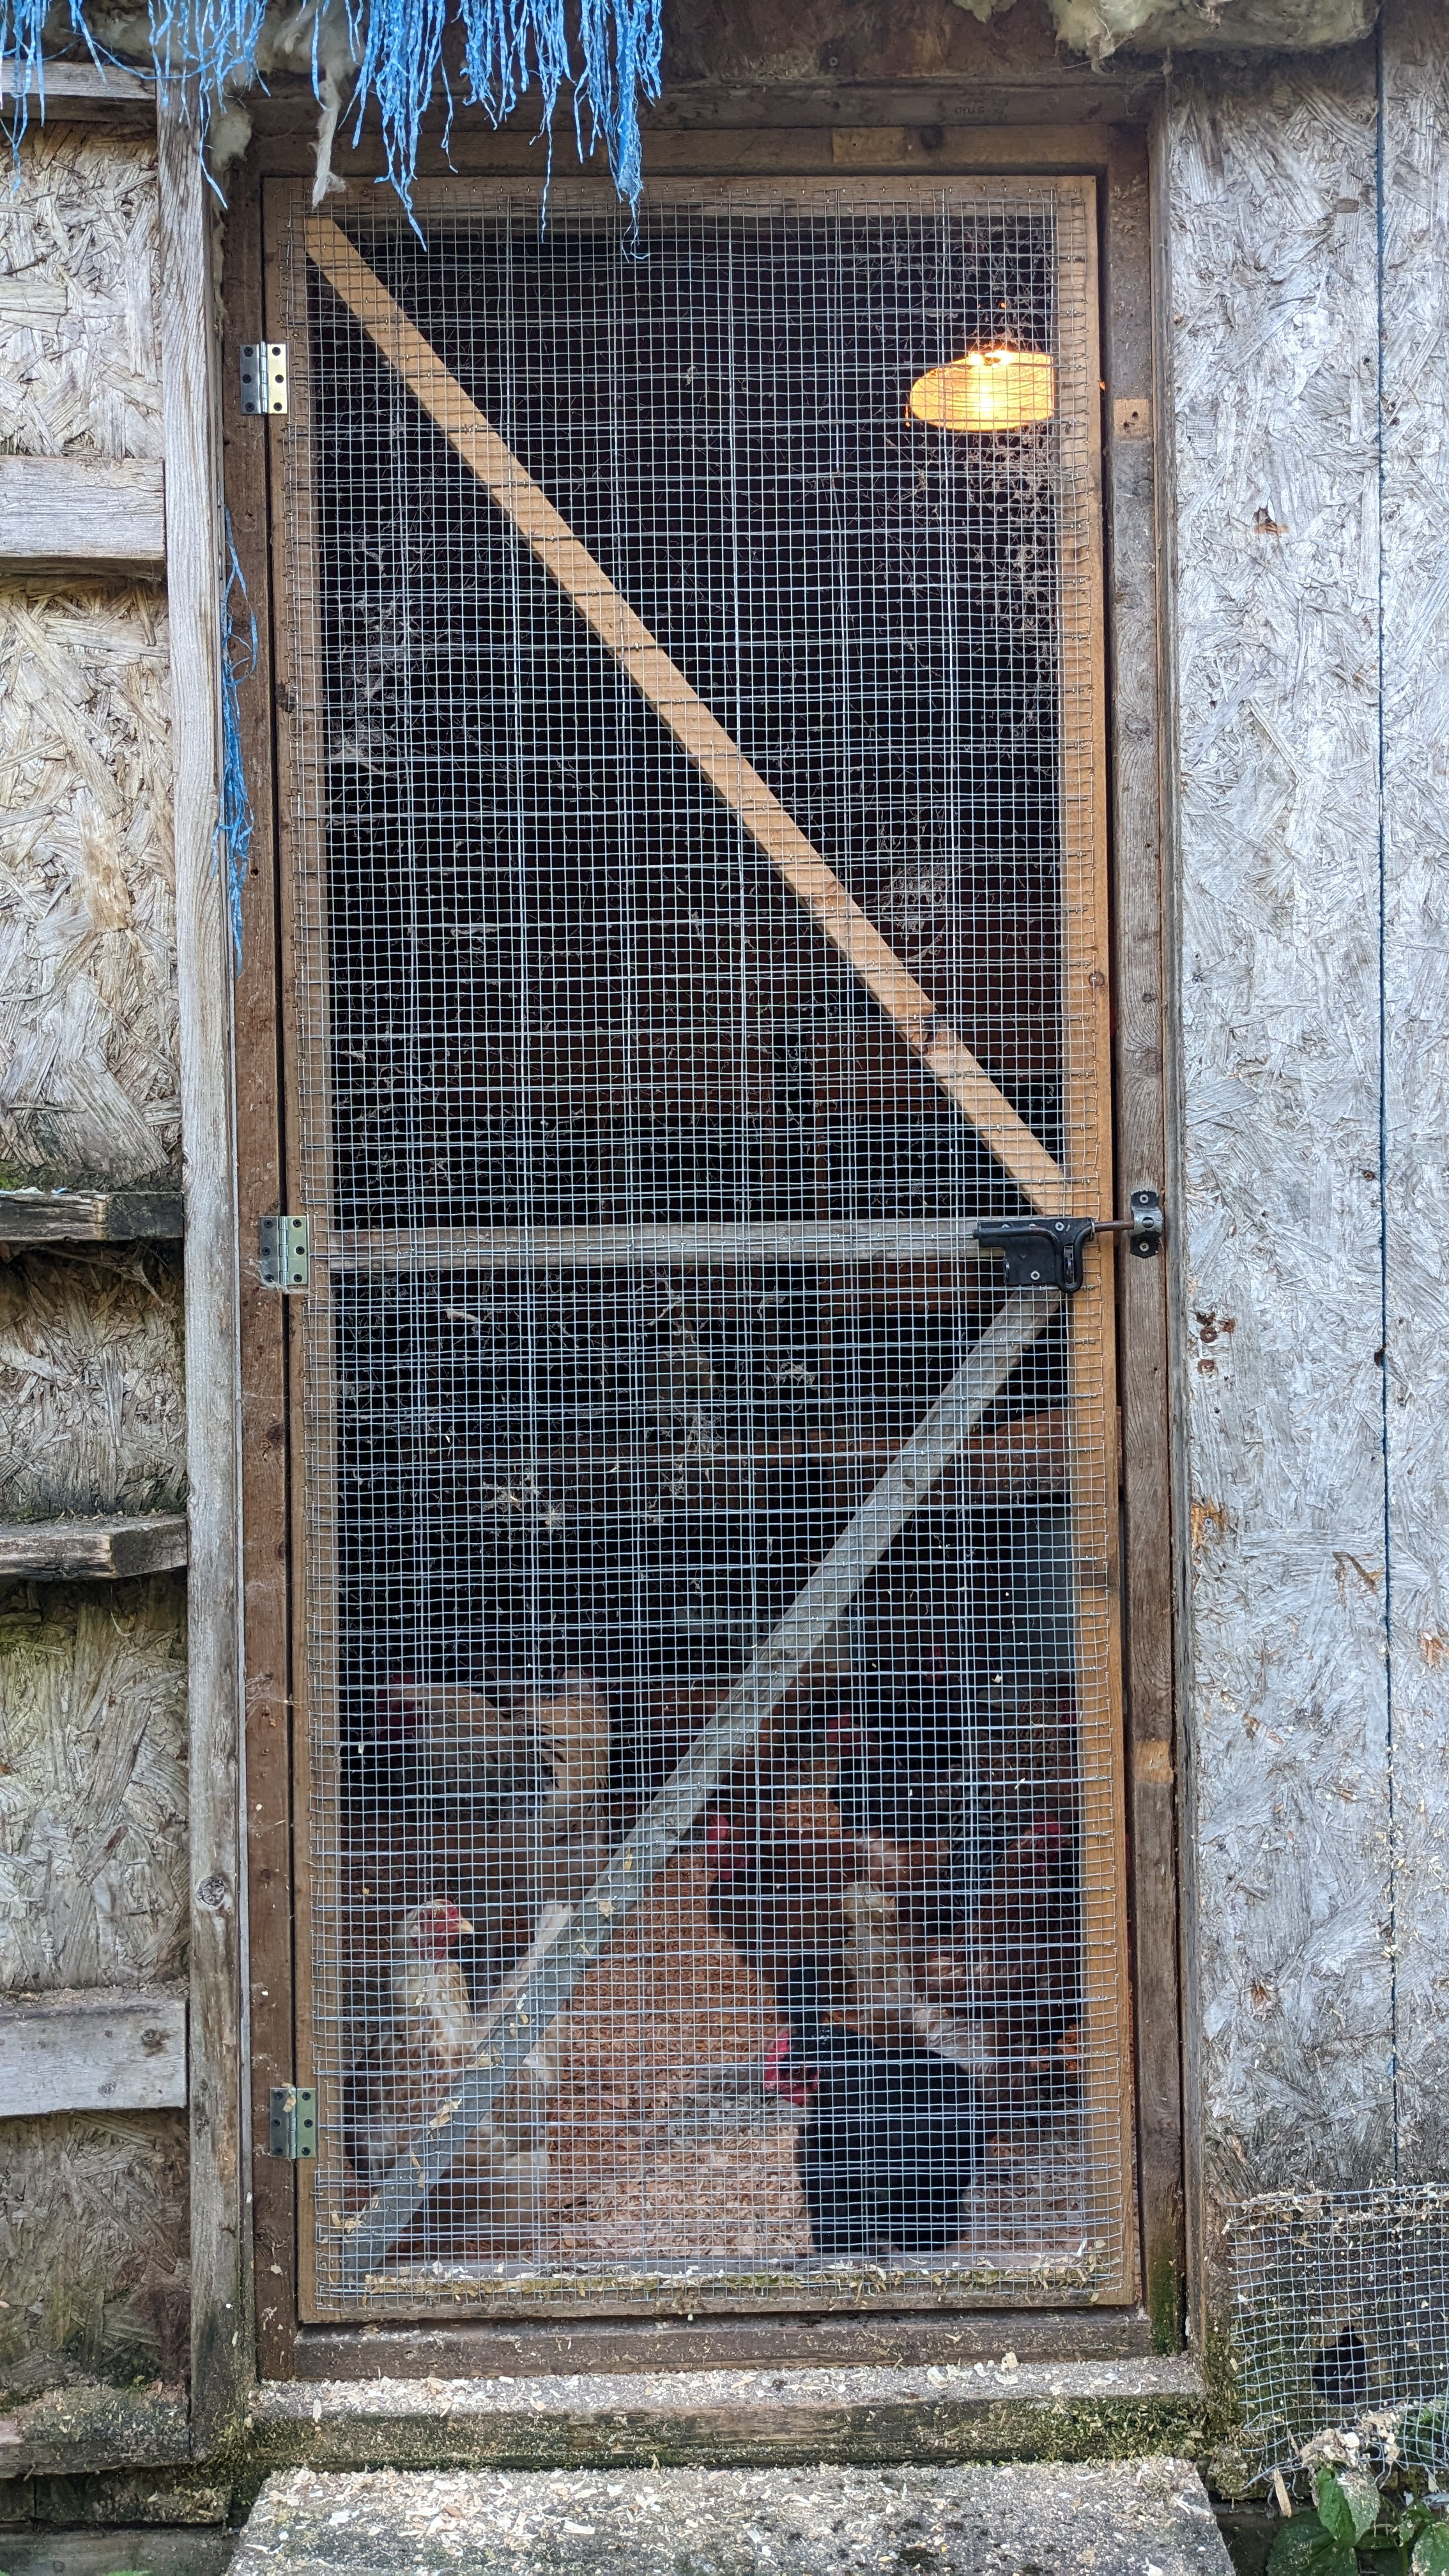
I think our raccoons are too lazy and too opportunistic to worry about that. The new door has been on for months. They never took a chicken inside, only ones that managed to stay outside overnight. It’s a real concern but hasn’t been a problem yet.
This is classic right wing “humor”. They get butt hurt because we make fun of them so they think that humor just means hurting the other guys. They try, and fail, and we laugh at them which makes them even more butt hurt.

 2·1 year ago
It’s time to abandon Twitter to the fascists and bots.
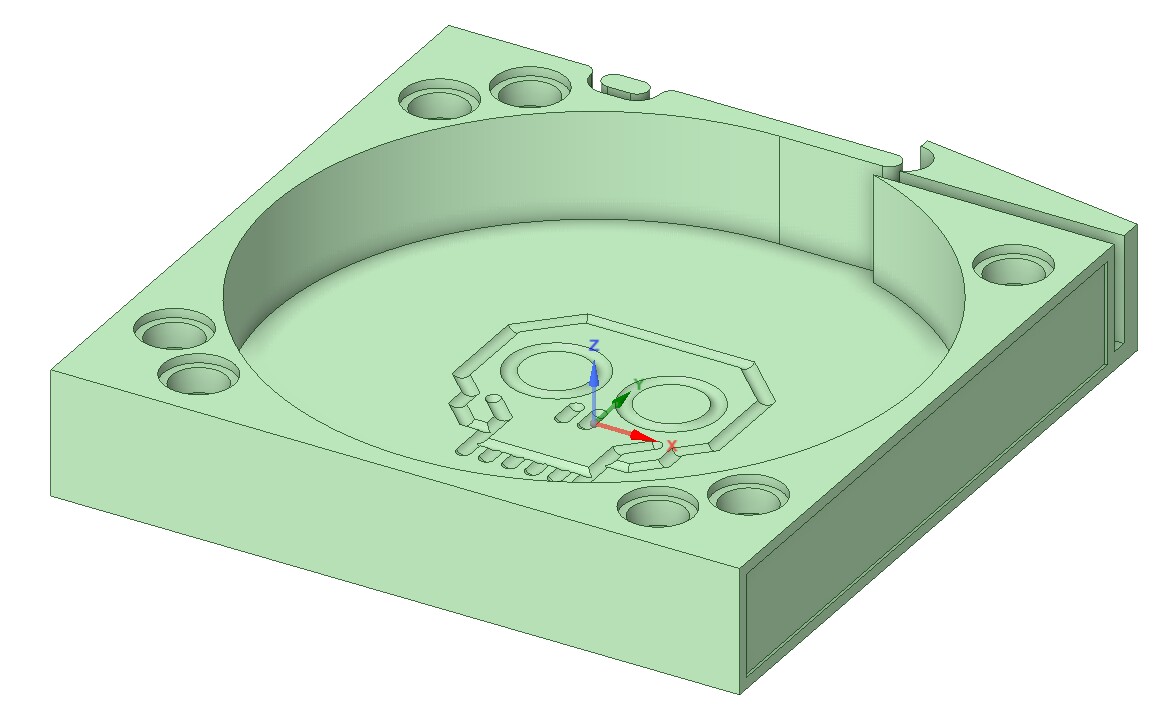
I wanted something smaller than most of the designs I had seen. These are 60mm x 60mm which makes them small enough to go into the Plano parts boxes I use for storage. I also wanted them in various widths with various slot openings. I use resistors and capacitors on paper tape but I also have chips and LEDs on plastic tape which require a wider body and slot. The splitter and slot width was important because I need to be able to clip off the end of the tape and throw them in a drawer without losing parts. I wanted to avoid multi part designs with clips and springs to connect to a rail or spools to hold the tape which make the whole thing wider. The cover was important because I expect to use them individually rather than connected together. Connecting them together with the LEGO pins was a concession to the guys I work with (well, one of the guys) who tends to build a few at a time where I tend to do a lot of prototyping and repairs. The pins mean there are no clips or pins projecting from the individual cartridges.
Yes, I’ve been a LEGO builder for 50 years or so and there is lots of Technics in my office. The LEGO pins are POM and very compliant. I’ve actually considered adding a DIN mount to these using a compliant DIN latch from BUD that I can buy from Digikey or Mouser. Another thing I’ve considered is just building DIN end clips where you have one with an integrated cover and one without. You would clamp those to a DIN rail then sandwich your stack up of cartridges between them. I’m just kicking around ideas right now.
I may ultimately make up a version with a window in the little sloped part so my friend can use a pick and place pen to pick the parts up from there with a bunch of them pinned together for assembly work. I tend to just expose the one or two parts I need and dump them out into the board I’m working on. I’m an electronic slob. I do most of my work under an Olympus SZ40 binocular microscope setup for soldering.
So, nothing major and I could have used any one of the designs available for download but I wanted to tinker with the design and print a bunch of similar but different cartridges that work for me.
Sorry…flow of consciousness.